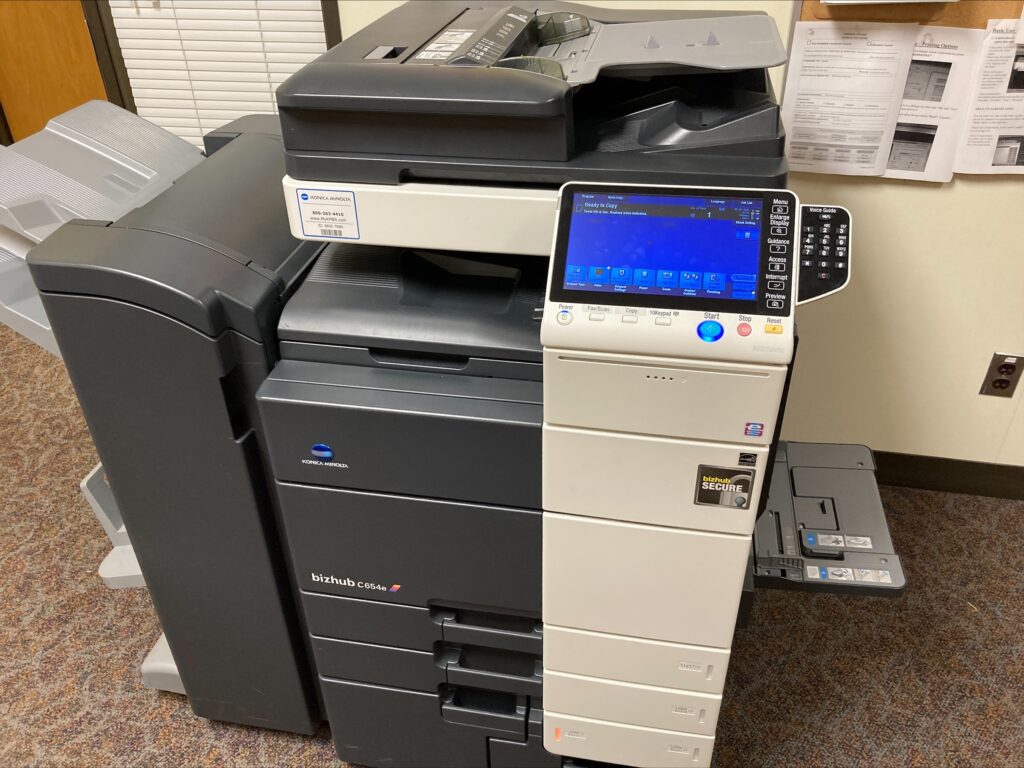
Printing on the Konica Minolta photocopiers using a USB drive

As most of you know, printing on campus has been limited due to a very serious worldwide bug in Microsoft printer drivers that could potentially give anyone access to our network and shut it down in a ransomware attack. Not good. Schools and businesses around the world are having to deal with this while Microsoft works on a fix. It appears to be a difficult problem to solve as this has been going on for months.

As a result, Douglas College has severely limited the ability to do any network printing. This includes sending anything from our office computers to the photocopiers. Some computers don’t even have the printer drivers installed. Even if you do, you can’t print after 4:30pm and on weekends. That brings us to this little-known function of our Konica Minolta photocopiers: printing from a USB drive. It basically means you can copy files from your computer (PDFs, Word and Excel documents, and images) onto a USB drive, and you can then plug that drive into the photocopier and print. You can even scan directly to the USB drive without having to email it to yourself. This also solves the file-size limits set by the email server.

Here is how you can print directly from a USB drive:

Locate the USB port on the right side of the photocopier. It might be near the lid, or it might be down below the screen. Insert your USB drive into the slot.
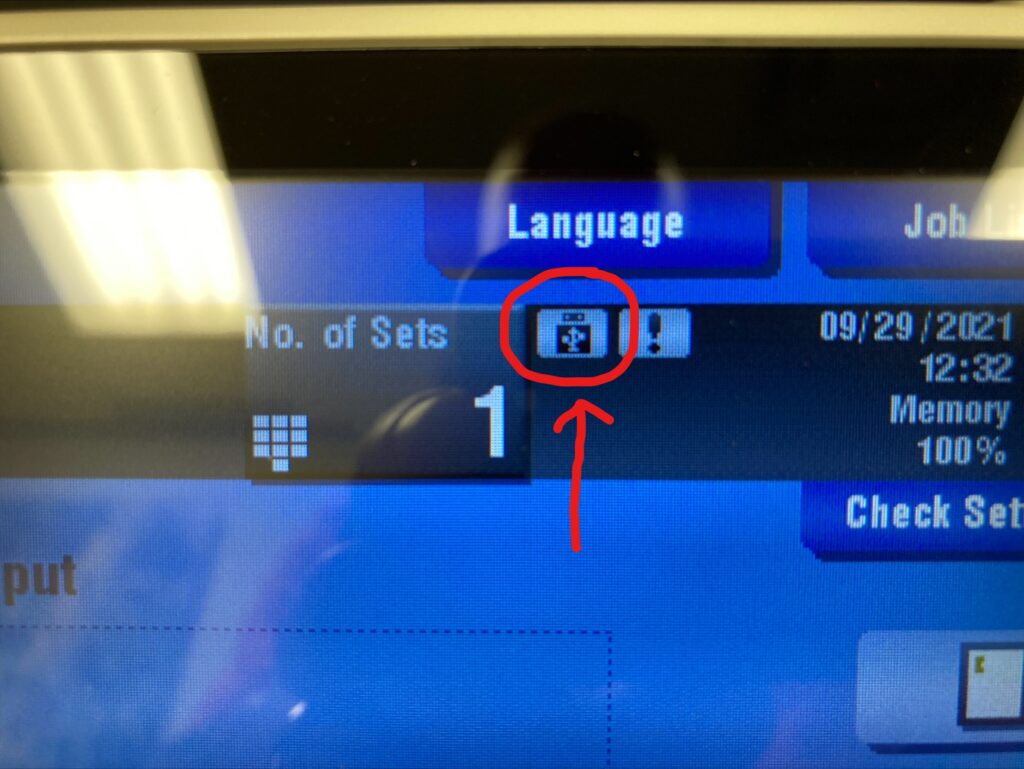

If nothing happens, look for this symbol at the top of the screen and click on it.
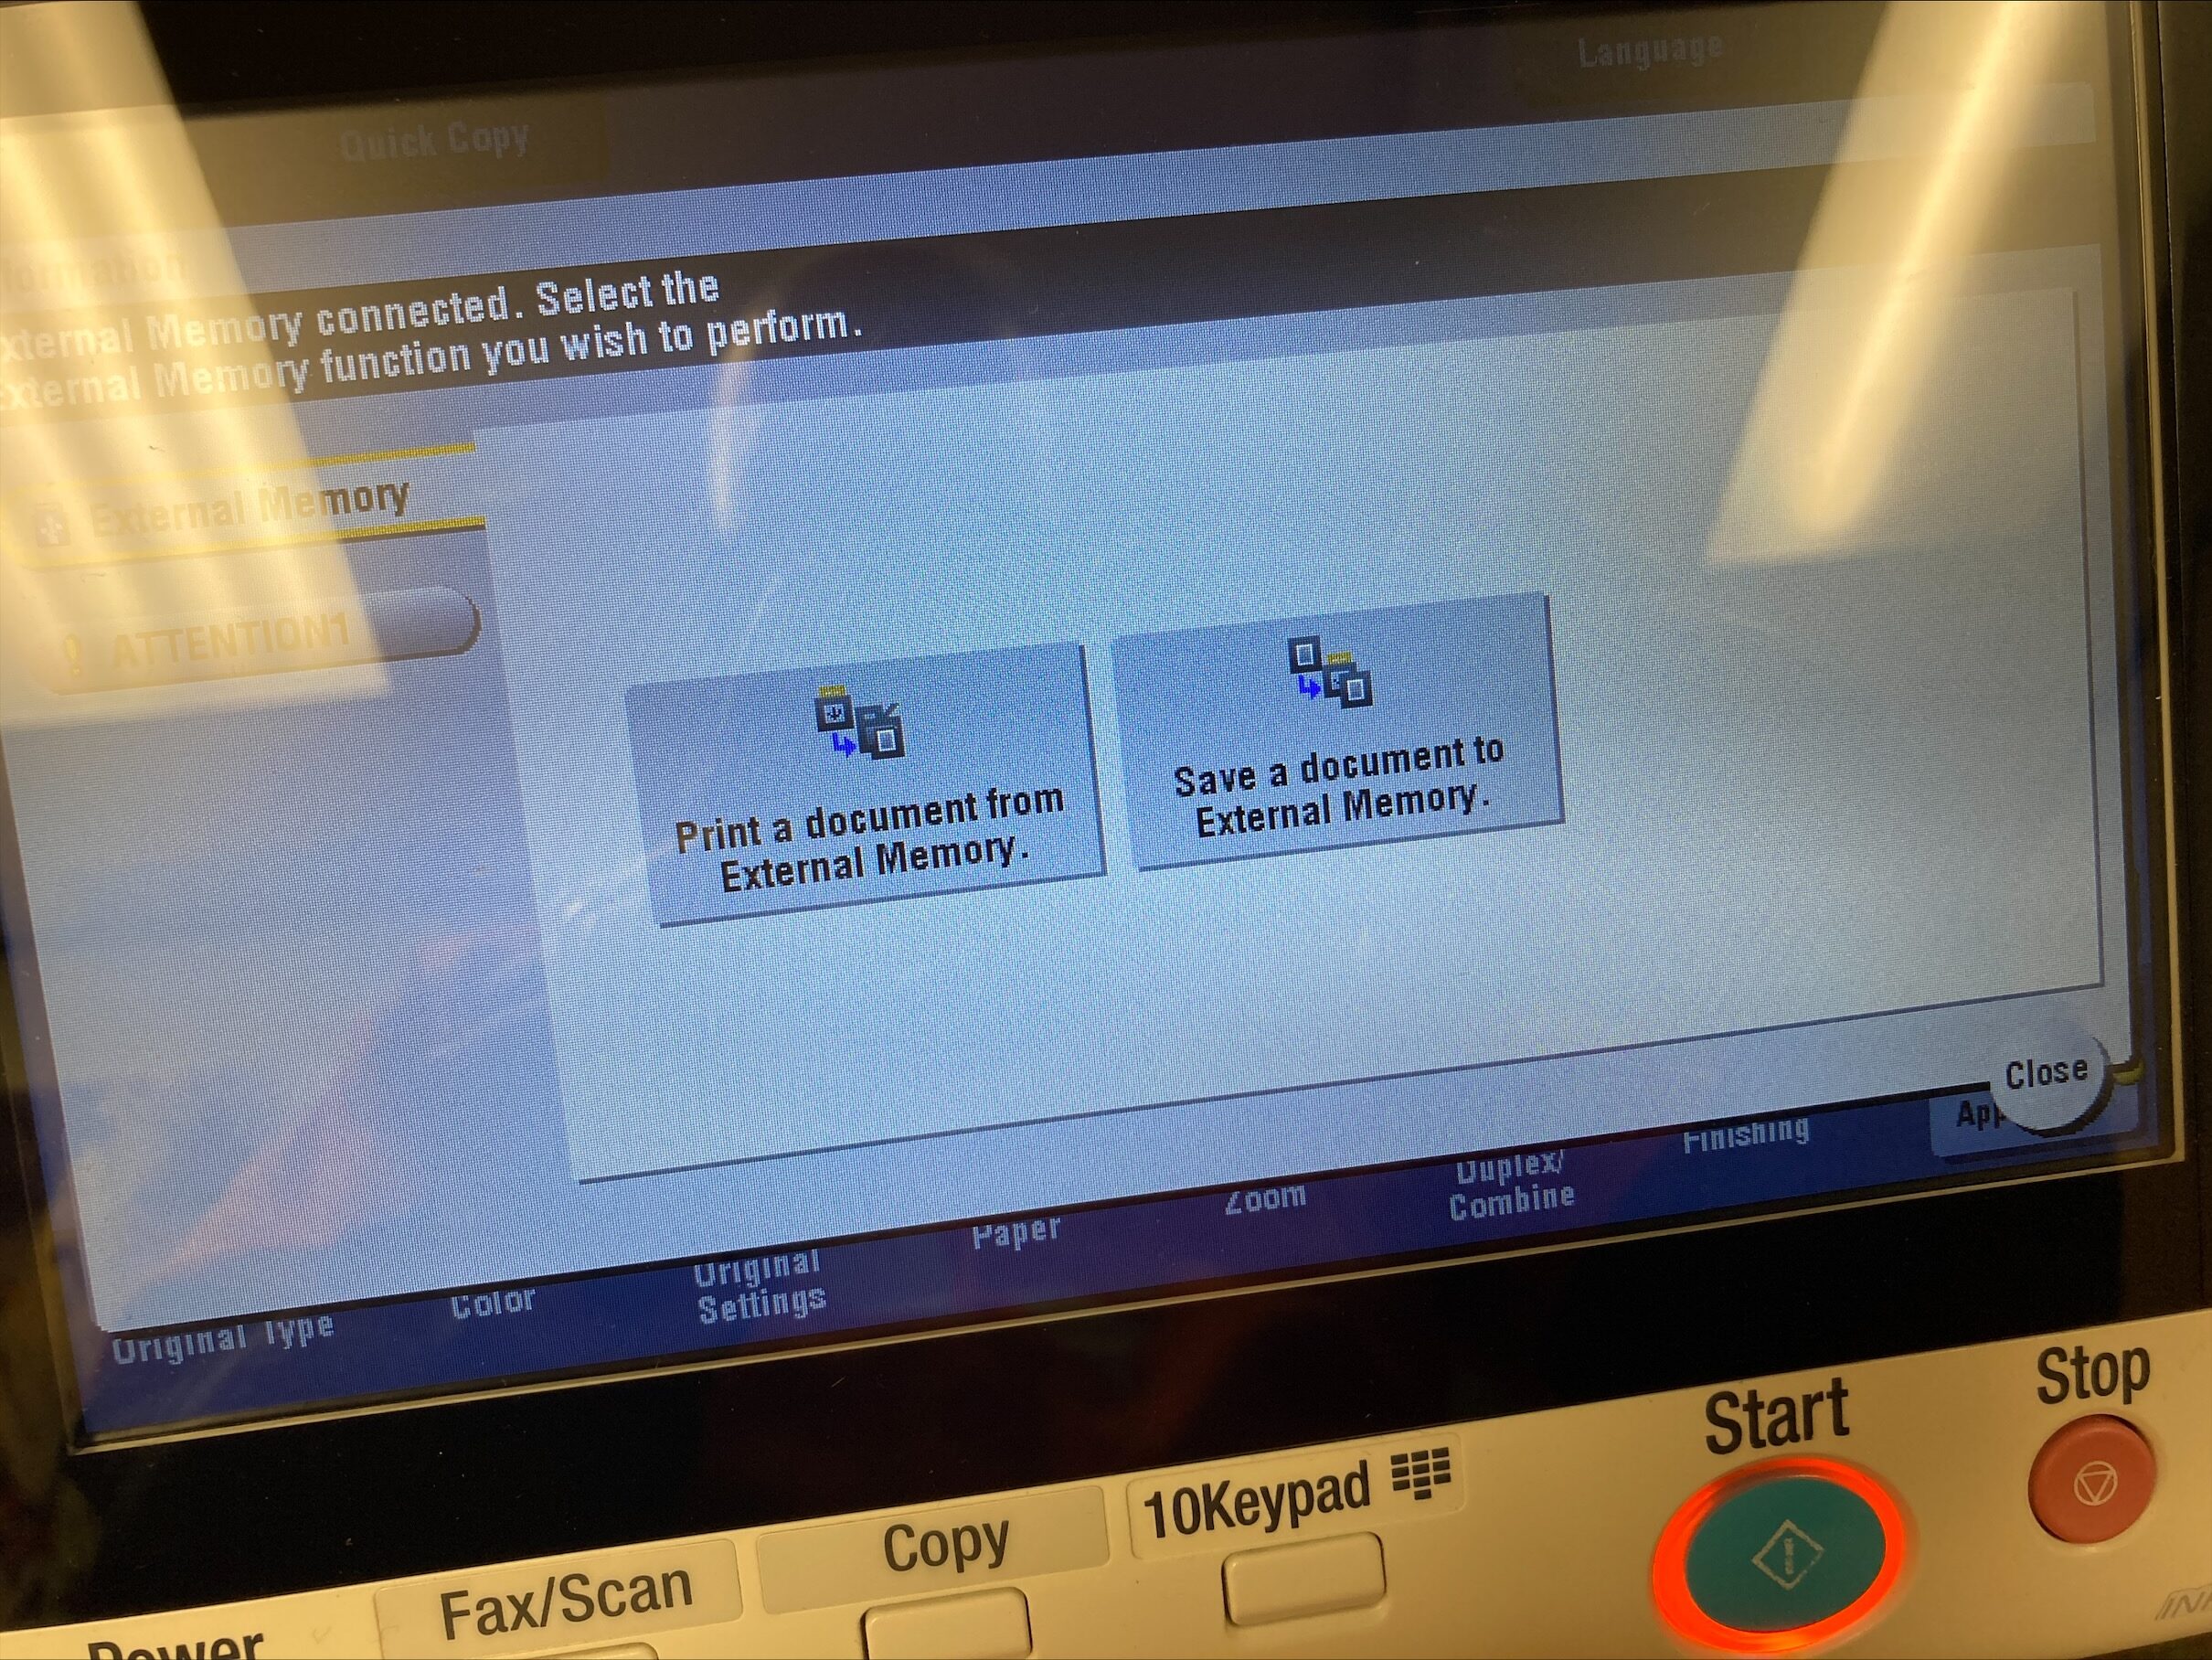

This screen will either pop up on its own, or it will appear after clicking on the symbol mentioned in the previous step. Once you see this screen, click on Print a document from External Memory.
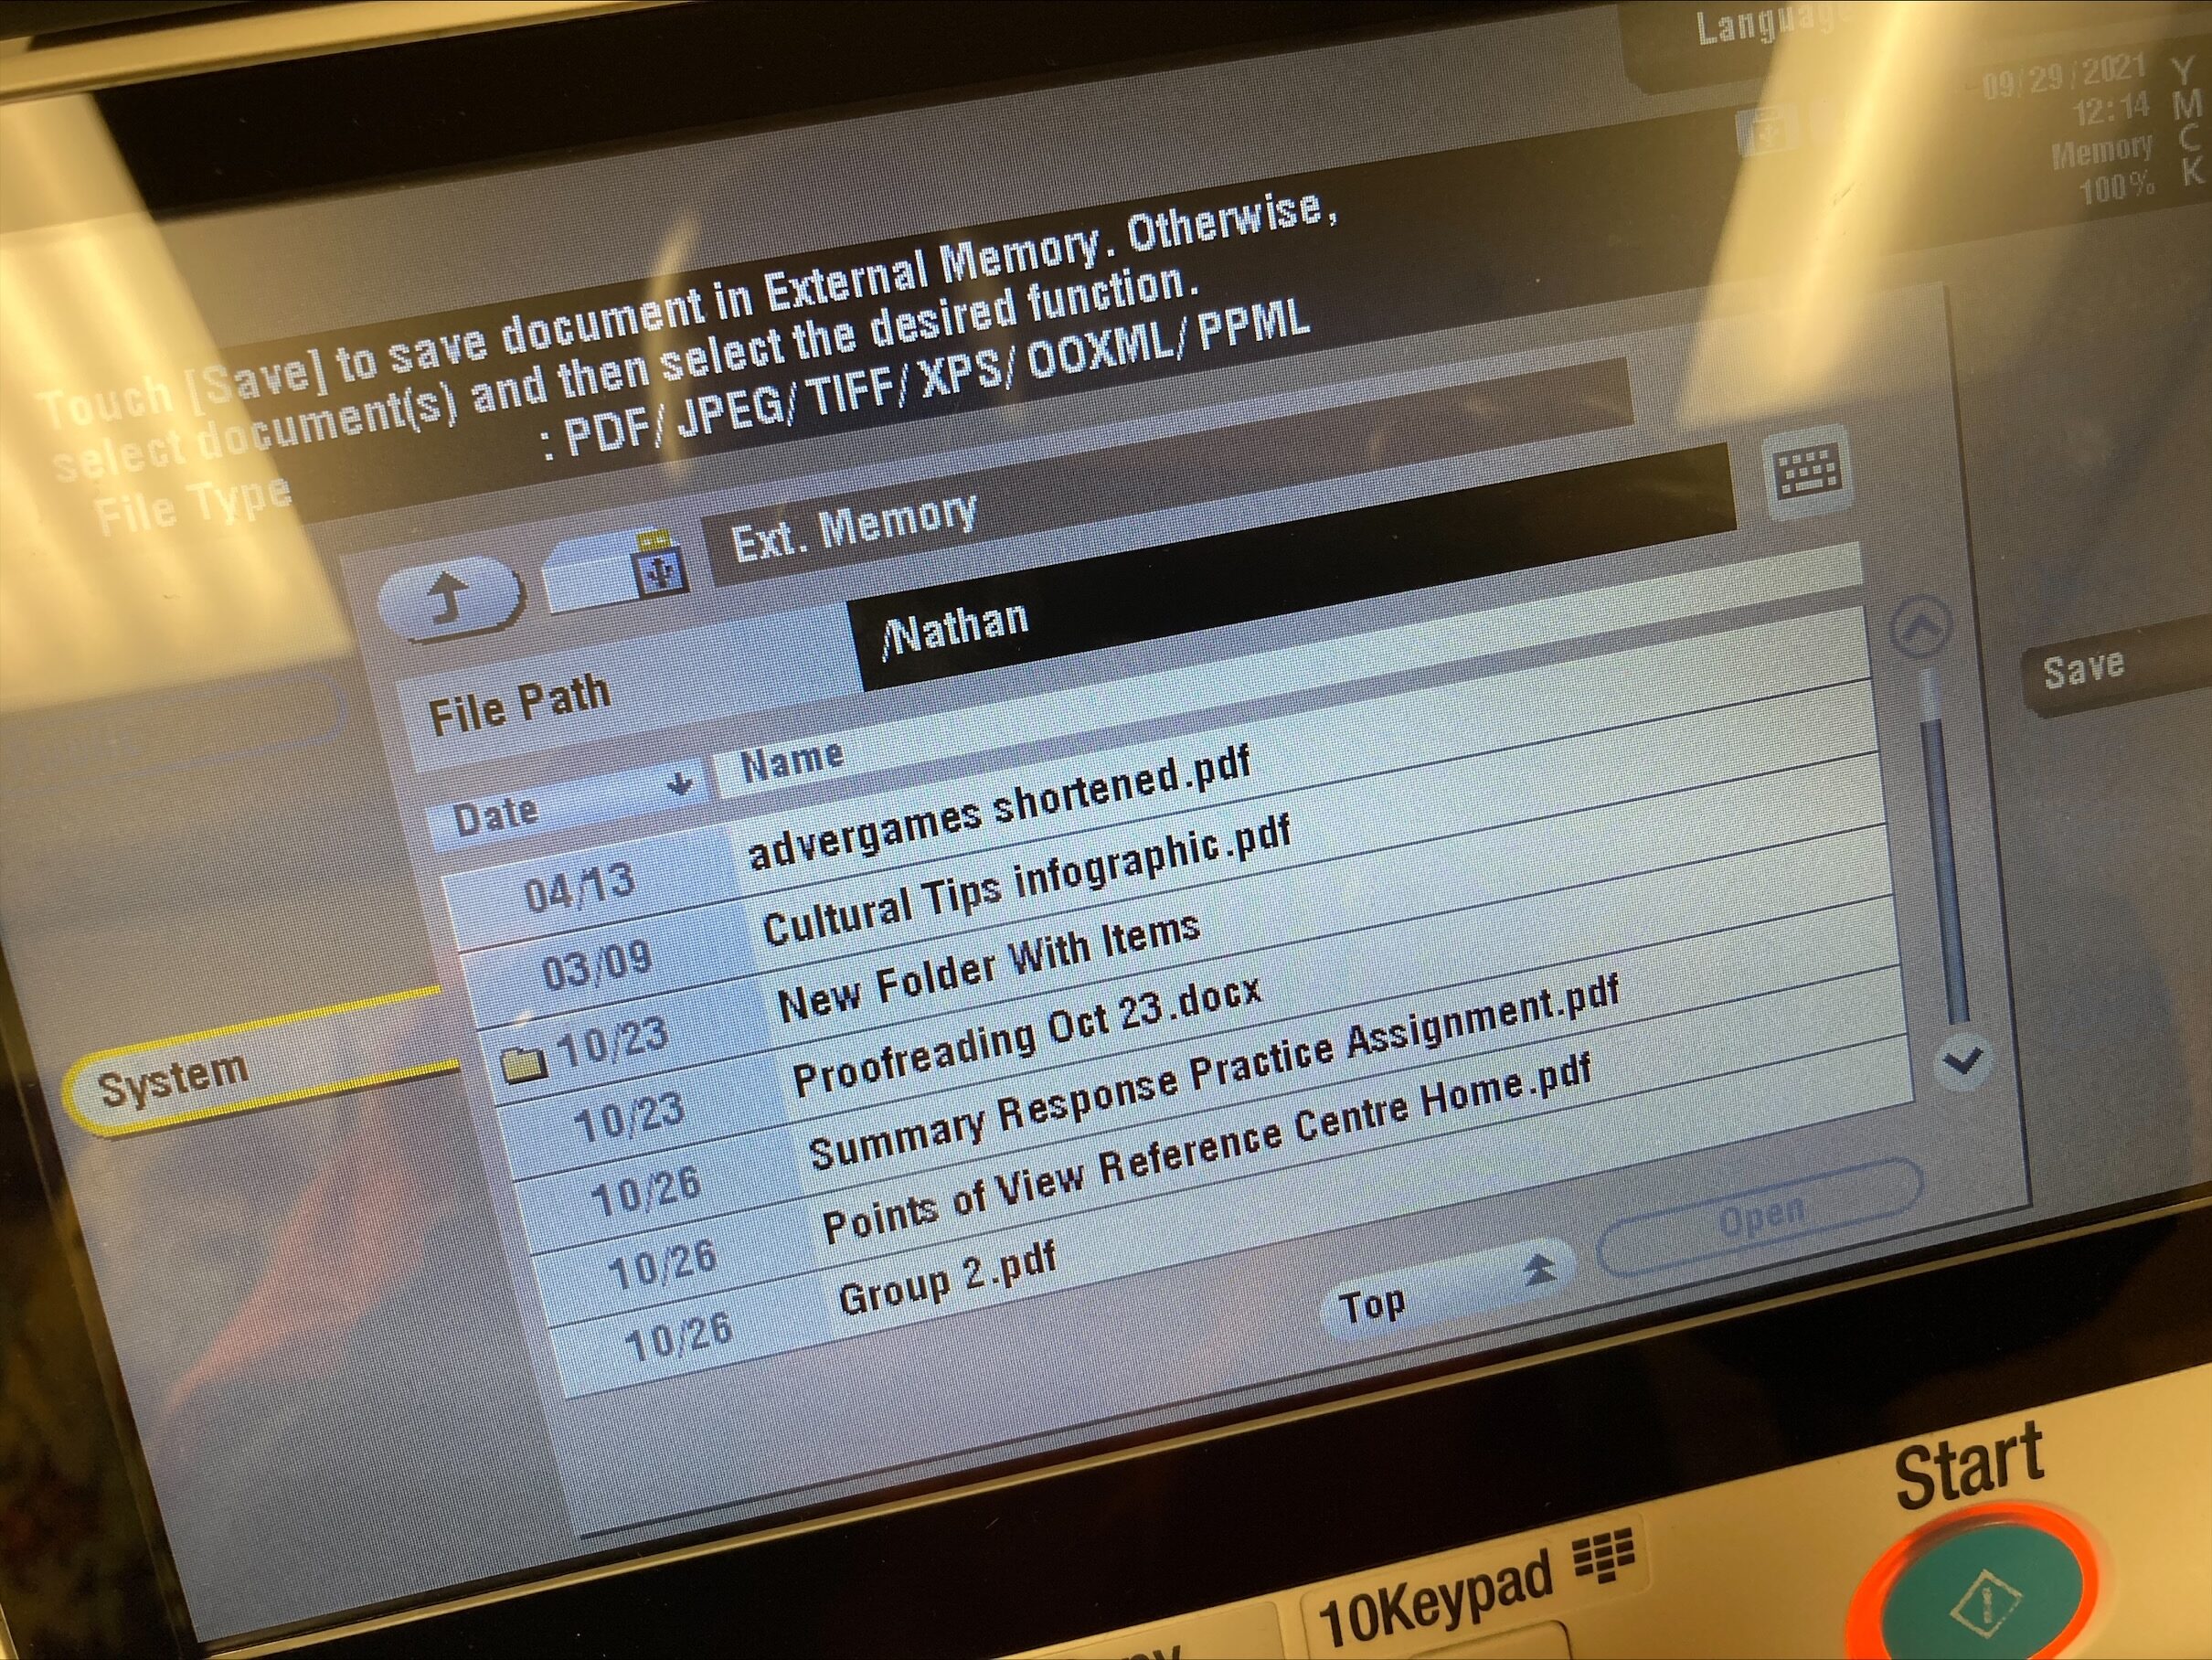

A list of your files and folders will appear. You can select more than one document to print. Once you select an item, it will change colour and a Print button will appear on the right side of the screen. Once you have selected everything you want to print, click on the Print button.
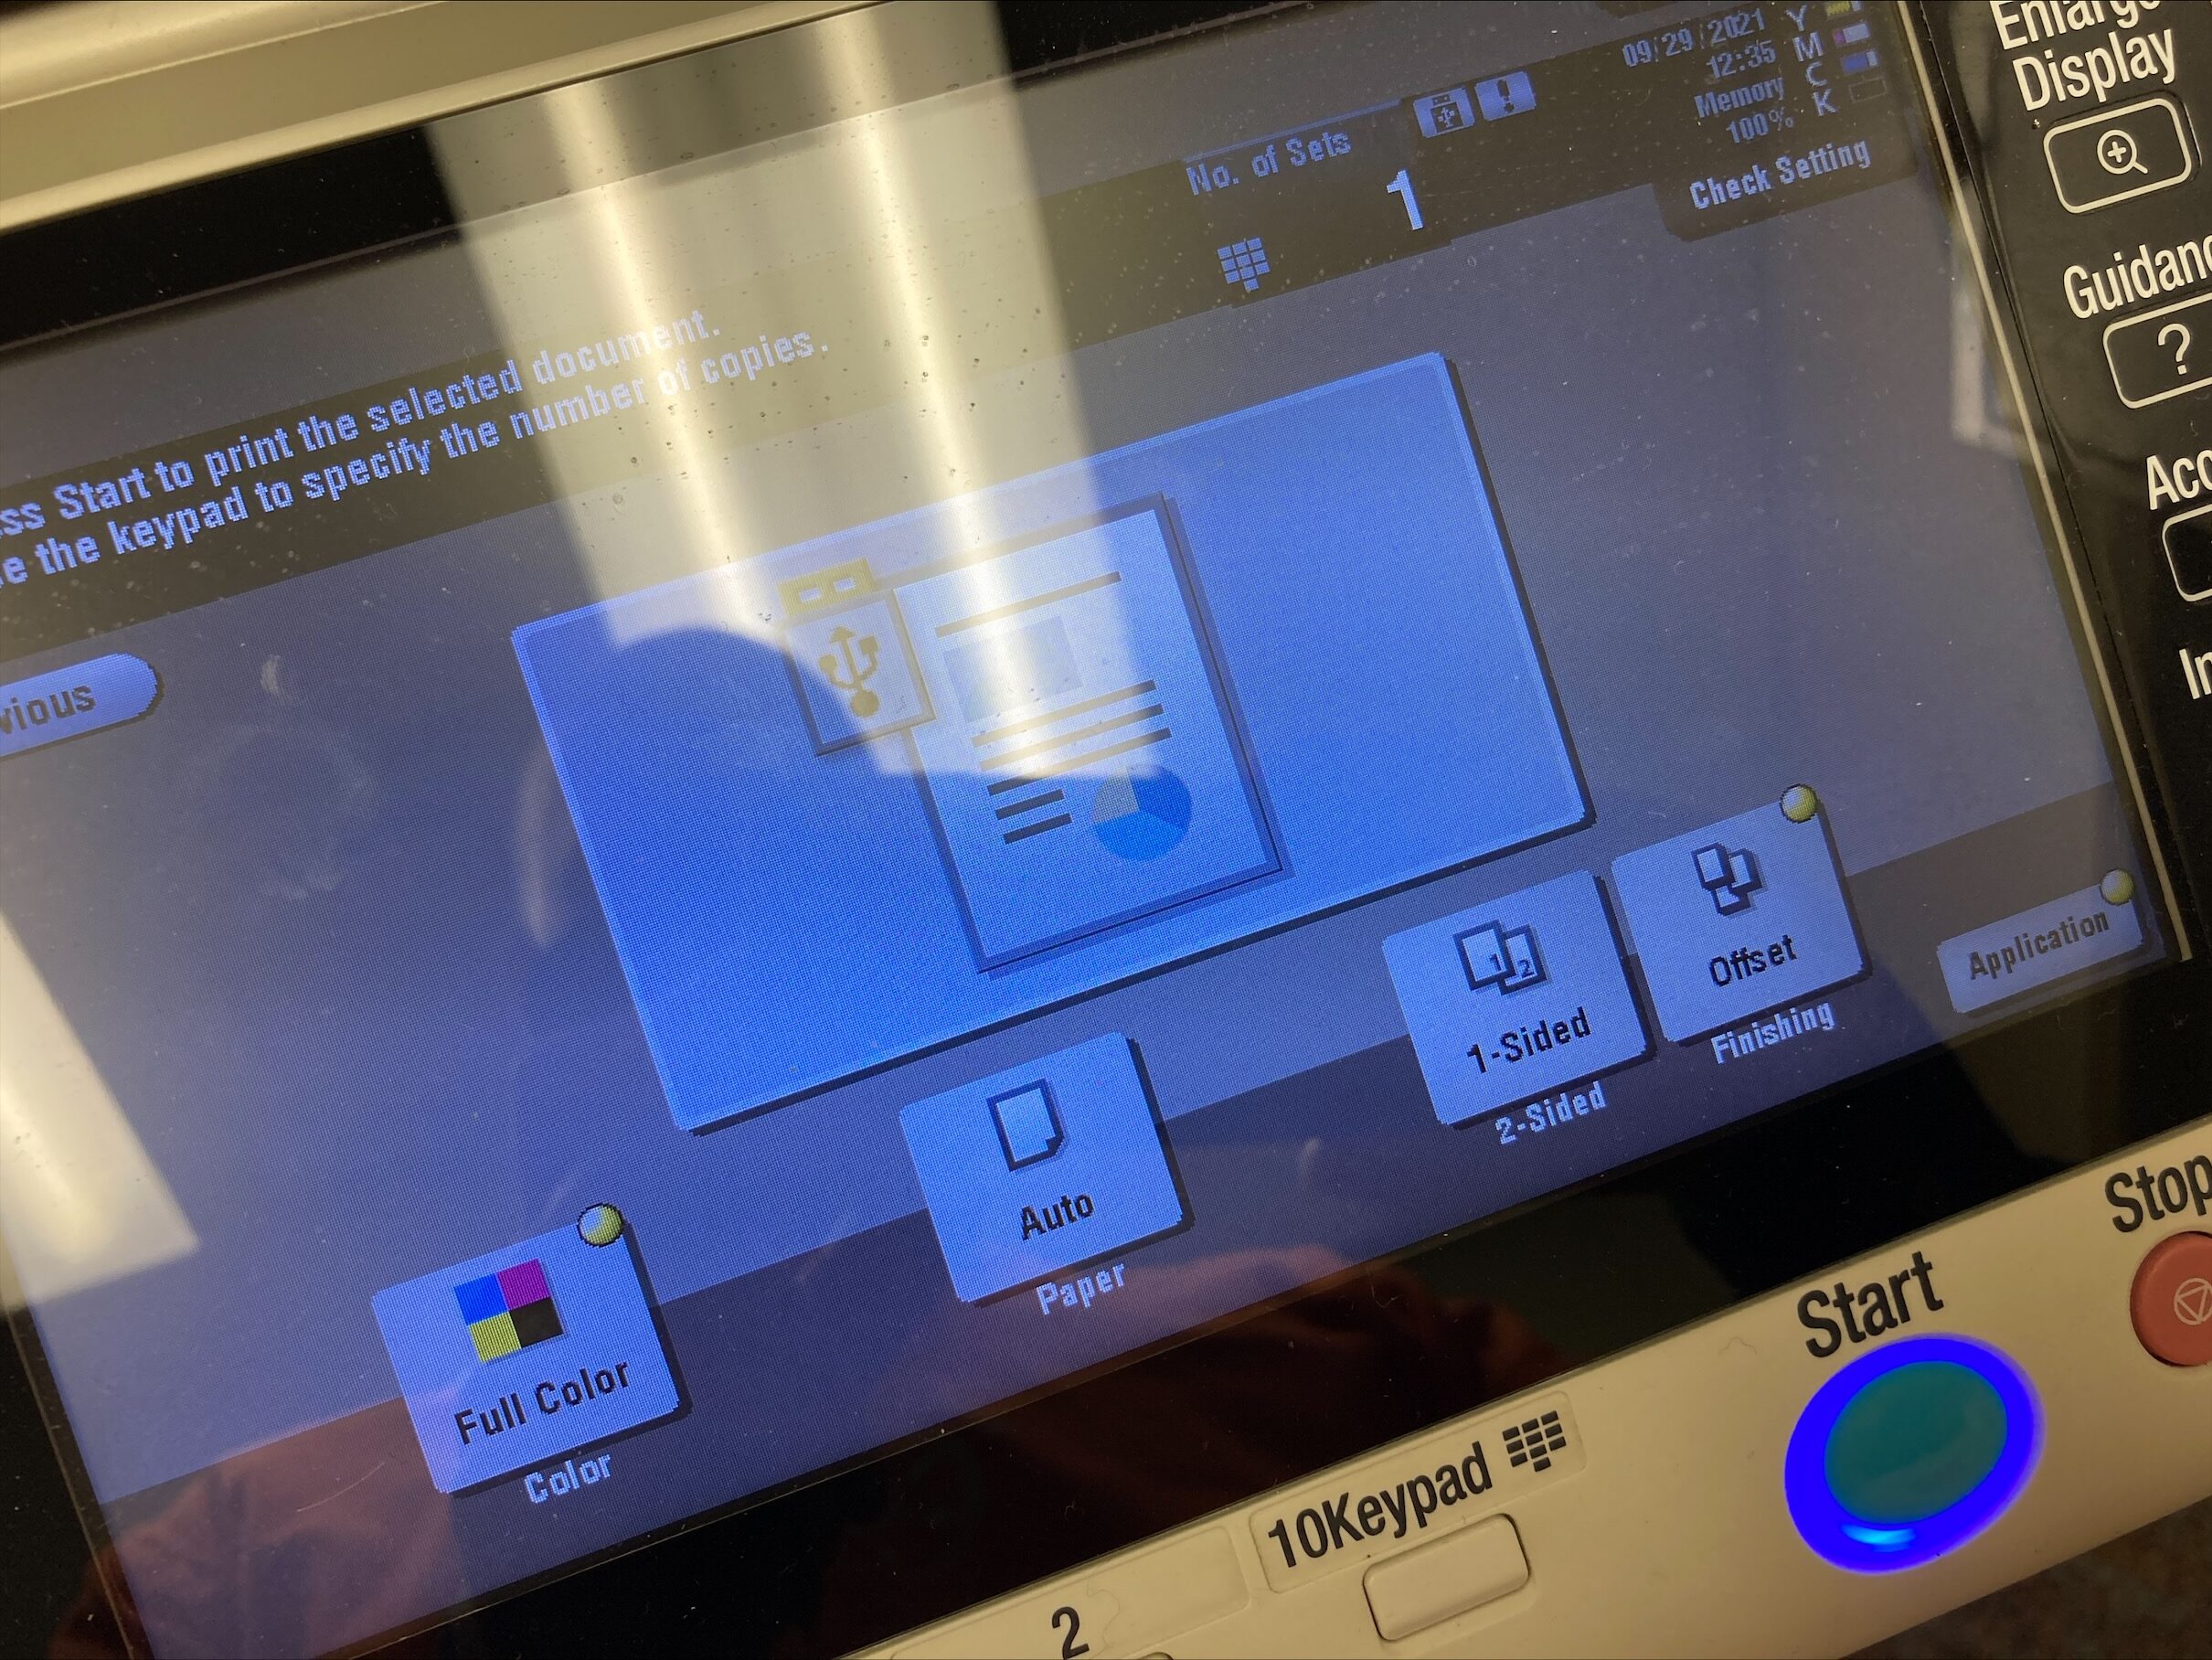

You have a few options on the screen such as colour or B&W, paper source, and single- or double-sided printing. Once you have made your choices, click on the Start button to print. DO NOT pull out the USB drive until it is finished printing. Once it is done, it is safe to simply remove the drive.
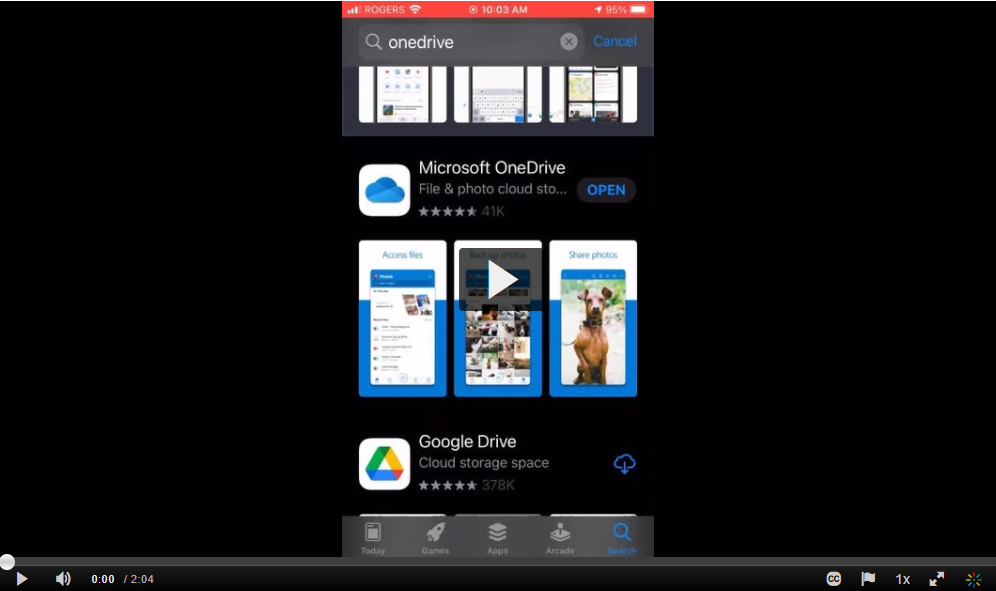
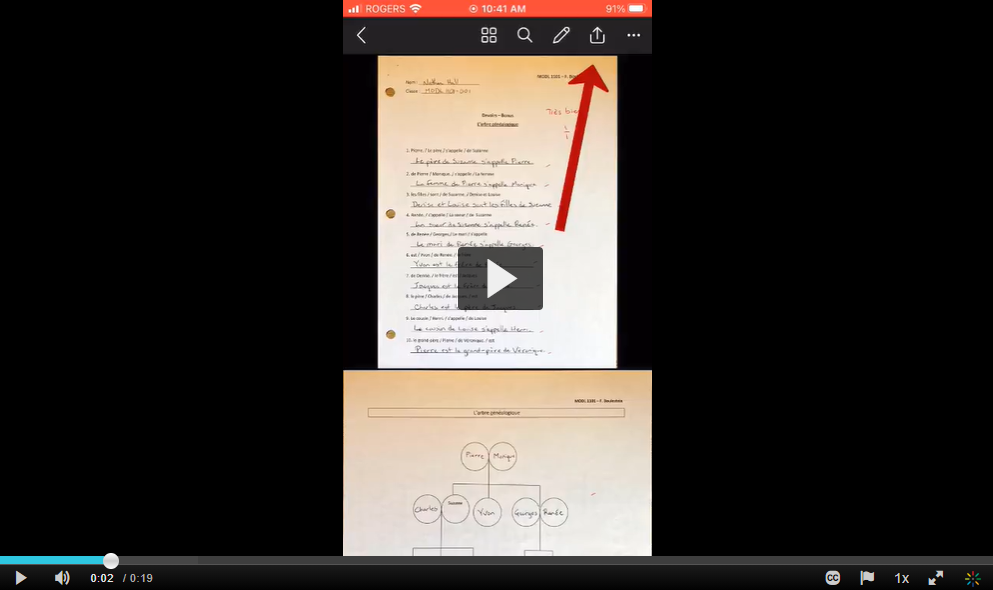
Having students scan pages using the Microsoft OneDrive app on their phones or tablets

If you want your students to scan their work to share with you electronically, you can simply have them use the free Microsoft OneDrive app on their phone or tablet.

Here is a video you can share with your students on how to install the OneDrive app and then scan a document and save it to OneDrive.

Here is a video on how students can share a file with you using the OneDrive app.

Feel free to share these videos with your students.

Getting started with Kaltura

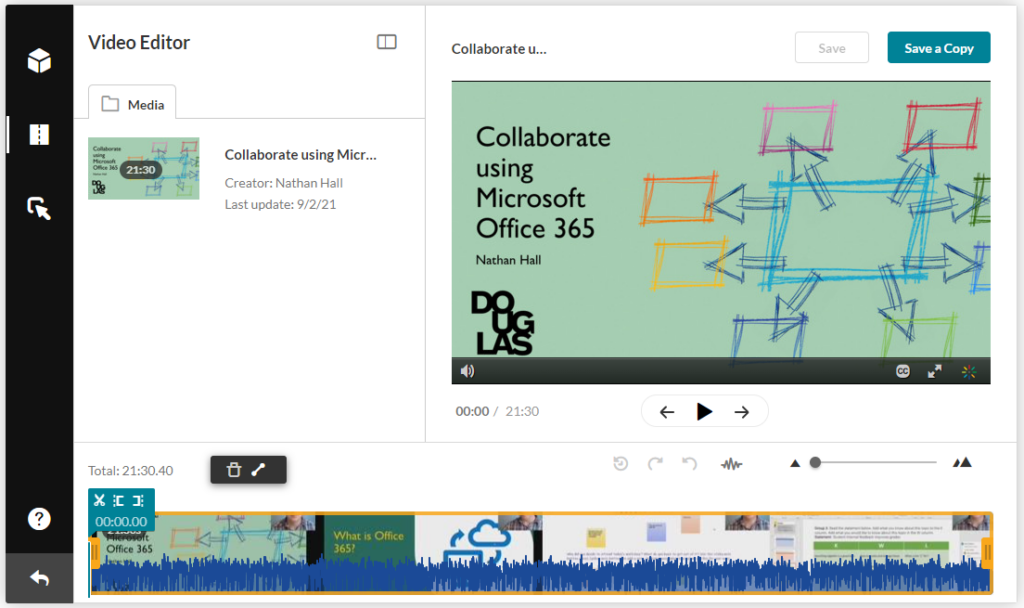
Screenshot of the Kaltura video editor

What is Kaltura?

Kaltura is a video hosting service we have access to at Douglas College. It works in a similar way that YouTube does, but it is hosted in Canada and has a number of security features that restrict who has access.

Why does Douglas College use Kaltura?

As mentioned above, the privacy and security features help the college maintain privacy compliance. It also is a lot less expensive than hosting the videos using Blackboard or other cloud services. In fact, our Blackboard access only has 500mb of storage space per course. That might be enough to host one or two videos at most on Blackboard. Kaltura gives users a lot of space to host their videos without worrying about taking up Blackboard space.

What are some of the main features of Kaltura?

Other than hosting streaming video, Kaltura also has:

  • machine-generated captions that can be manually edited;
  • a way of recording videos and screencasts;
  • the chance to create interactive videos with questions;
  • the ability to bookmark different sections of videos to give users the ability to skip to different parts of the video;
  • a video editor;
  • the tools to create video playlists;
  • and more!

What is the difference between My Media and Media Gallery?

This can sometimes be confusing for new users, but it basically goes like this.

My Media = a personal space for each user to host their own videos. No one other than yourself has access to this space.

Media Gallery = a space within each class that everyone in that class has access to. This is where the teacher, and even the students, can share videos they are hosting in their My Media space with the rest of the class. No videos are actually stored in the Media Gallery. It is only a space to share videos.

How do I access the My Media space?

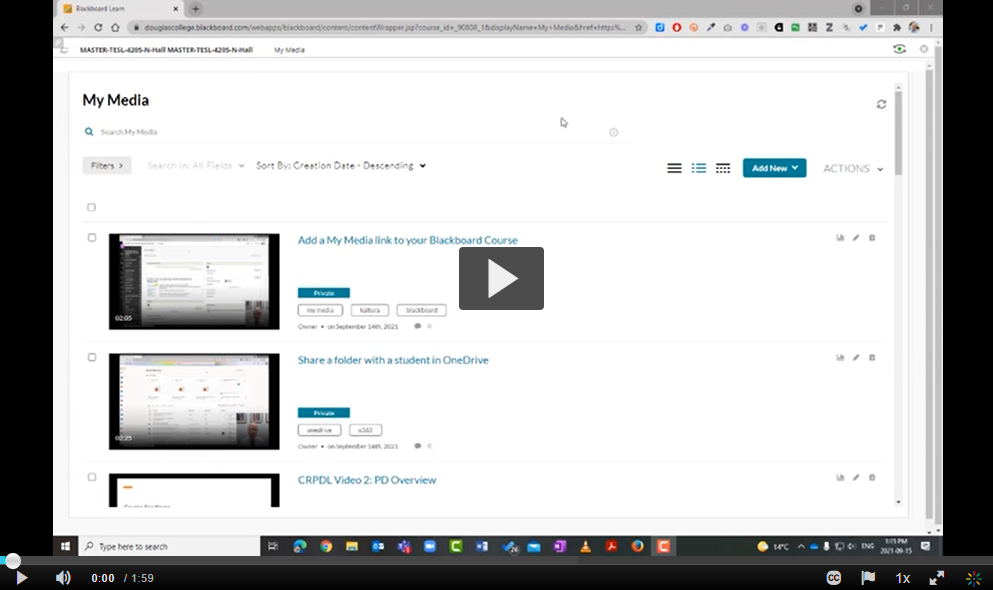
The easiest way is to create a My Media link in your course module area. When someone in that class clicks on the link, either teacher or student, Kaltura looks at who clicked on it and directs them to that person’s own My Media space. No one would be able to access your My Media space except you.

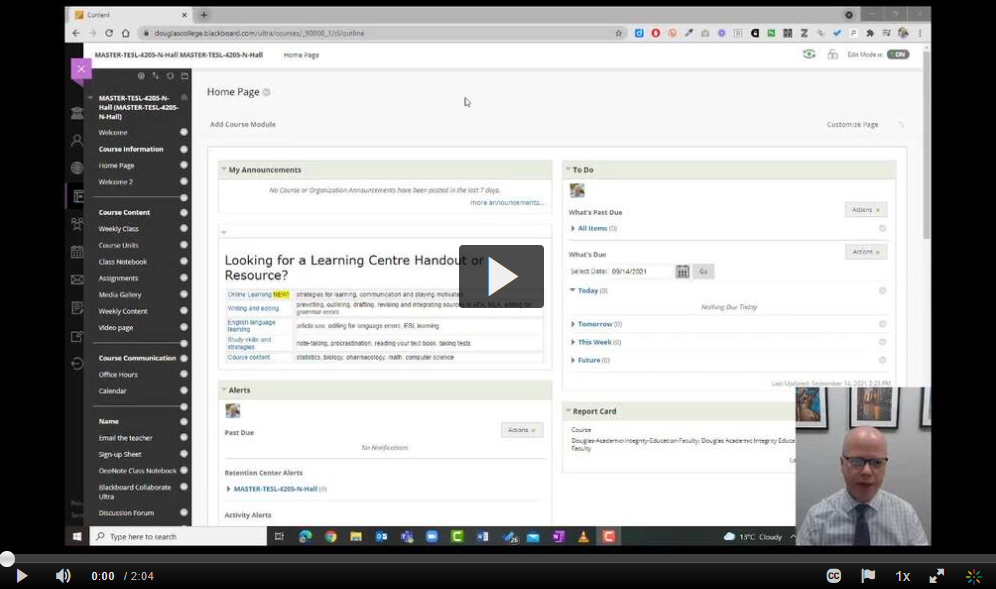
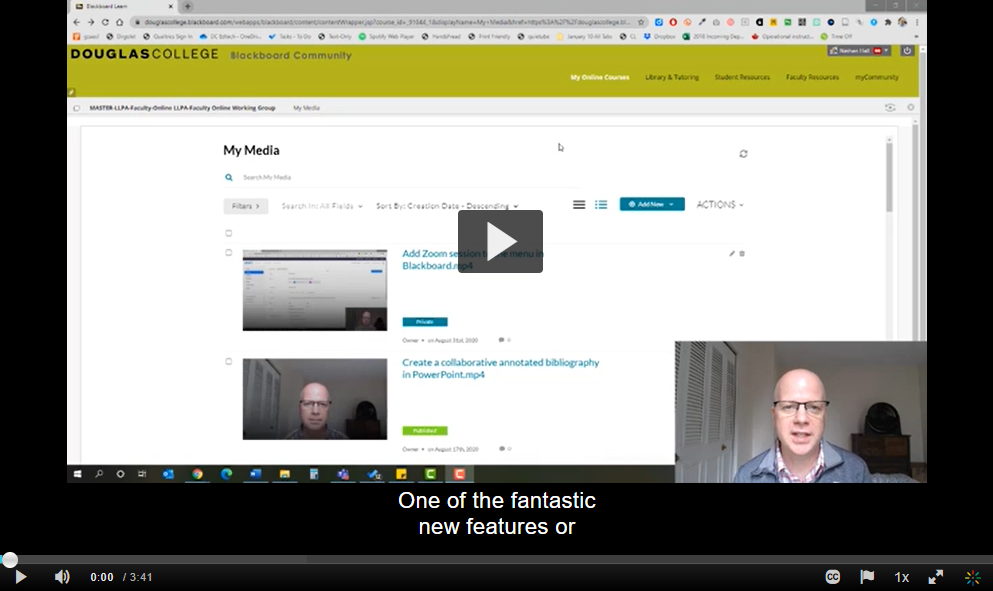
Here is how to add a My Media link to your course module page.

How do I add videos to My Media?

There are two main ways of getting videos to My Media: upload and record.

Here is how you can upload a video to My Media

What is the difference between Express Capture and Kaltura Capture?

There are two ways to record video with Kaltura.

Express Capture is a simple webcam video recording that doesn’t require any installed software. It simply uses your web browser (e.g. Mozilla Firefox) to record a webcam video with sound.

Kaltura Capture is a program you download from Kaltura and install on your computer. It can be used to record screencasts, videos with both a webcam and screen recording. It then uploads those videos to your My Media section of Kaltura.

Here is how to use Express Capture

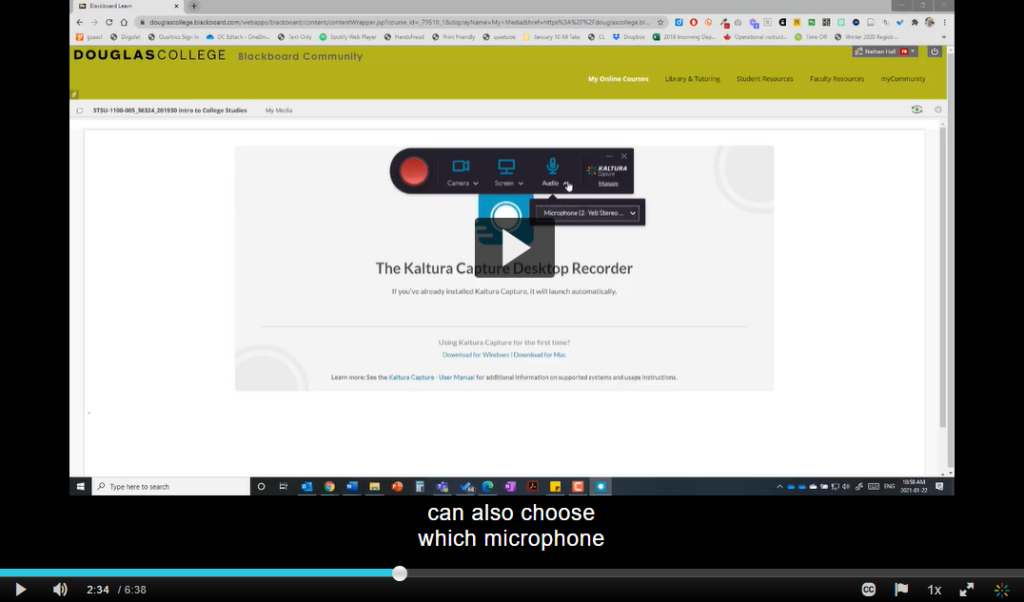
Here is how to use Kaltura Capture

How do I add captions to my videos?

Kaltura can create machine-generated captions of your videos which can then be edited. The captioning has increasingly gotten better as more people use the service. After saying that, you will likely also want to edit the captions after Kaltura has done its job.

Here is how you can add machine-generated captions and then edit them.

Hopefully that will get you started with Kaltura. In a future post, I will share how to take advantage of the more advanced features of Kaltura.

Create an online booking page for office hours using Microsoft Bookings

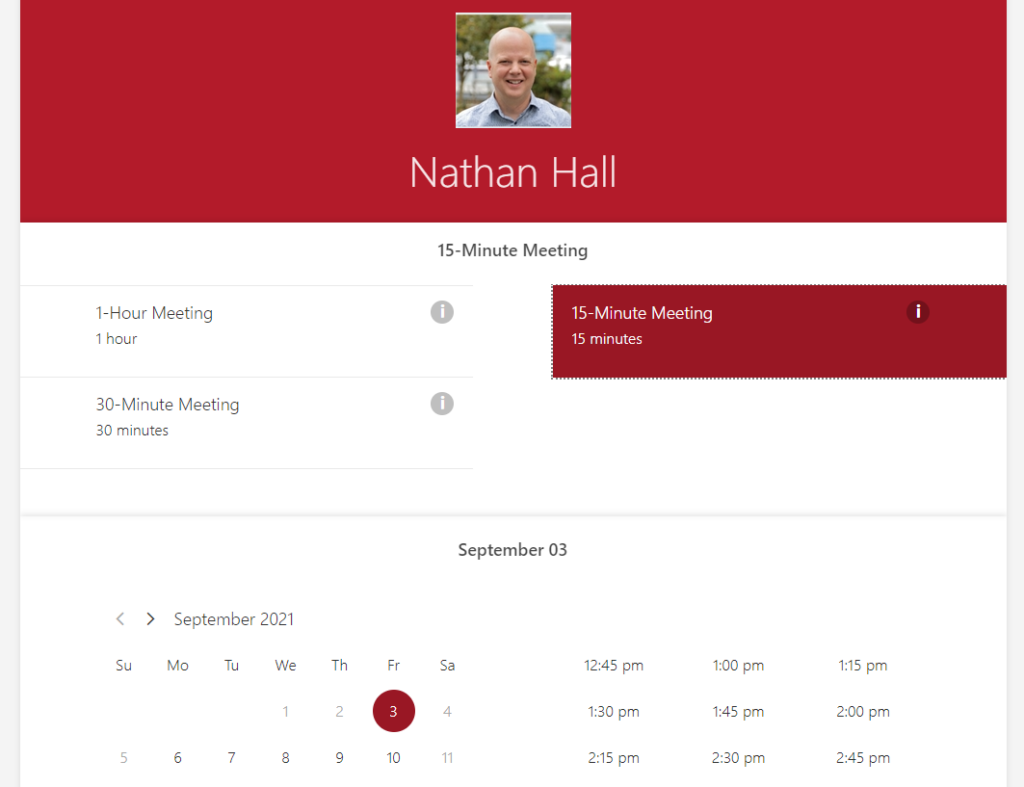
As we move back on campus, you might still want to use an online booking page for your office hours. This is a simple way for students to book a time with you in person or for meeting online. Some of you are already using a service to do this, but some of you may not be aware that Douglas College has access to Microsoft Bookings as well. This comes as part of your Office 365 package and is free for you and your students to use. It allows you to set the meeting increments (e.g. 15-minute meeting blocks) along with dates and times. I have been using this for a while now and it works well. Here is how to do that:

  1. Log into your Office 365 account on your computer.
  2. Click on the All Apps button in the bottom-left corner.
  3. Click on Bookings.
  4. Once you are in Bookings, click on Business Information to set up your booking account. Here is a 1:01 video to show you how.
  5. You will now need to set up your Office Hours. Click on Services to do that. Here is a 1:06 video on how to do that.
  6. Finally, you will need to create the page your students will use to book the meeting. Click on Booking Page to customize your page. Here is a 1:31 video on how to do that.
  7. Copy the booking page link and share that with your students. I added it to the menu in Blackboard so they can find it easily. If you need a reminder on how to do that, here is a video that might help you.

Sending an email to students through their personal email

While we should be communicating with students through their Douglas College email accounts, there are times when we may need to send an email to our students’ personal email accounts. An example of this would be before the course starts and you are wanting to make sure they know what to do before the first day of classes.

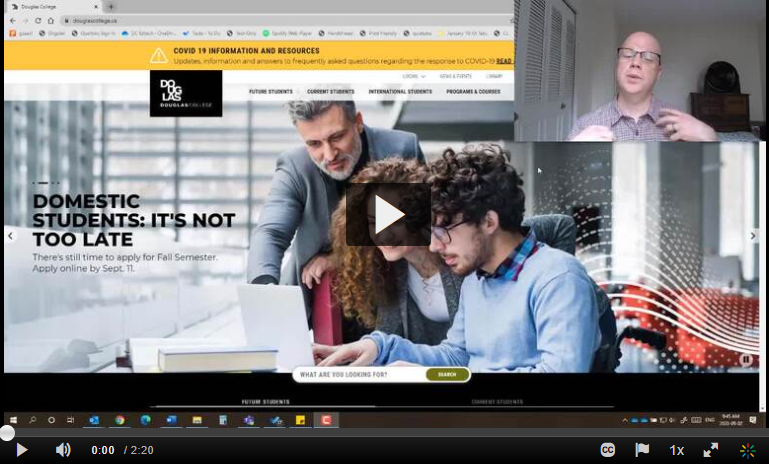
Click on the image below to learn how to email your students through their personal email accounts (2:20).

LLPA Academic Integrity Blackboard Quiz and Interactive Modules

The LLPA Academic Integrity Committee came up with a number of scenarios that are related to the different areas within LLPA. Each of these scenarios has been turned into Blackboard quiz and also some interactive elements that can be added to your Blackboard course.

Here is one example scenario that has been turned into an interactive element:

If you are wanting to use the Blackboard quiz or the interactive elements, you can find the files along with the instructions on the LLPA Blackboard Site under Additional Material. There are videos there to give you an overview of the resources along with instructions on how to install them.

Please let me know if you use these resources along with comments on how we can improve them.

Thank you.