One of my favourite tools in Microsoft Office 365 is Forms. I use it in my courses, my committee work, and anywhere else I need to collect information from people. It is a straightforward tool to use and has only gotten better over the years.
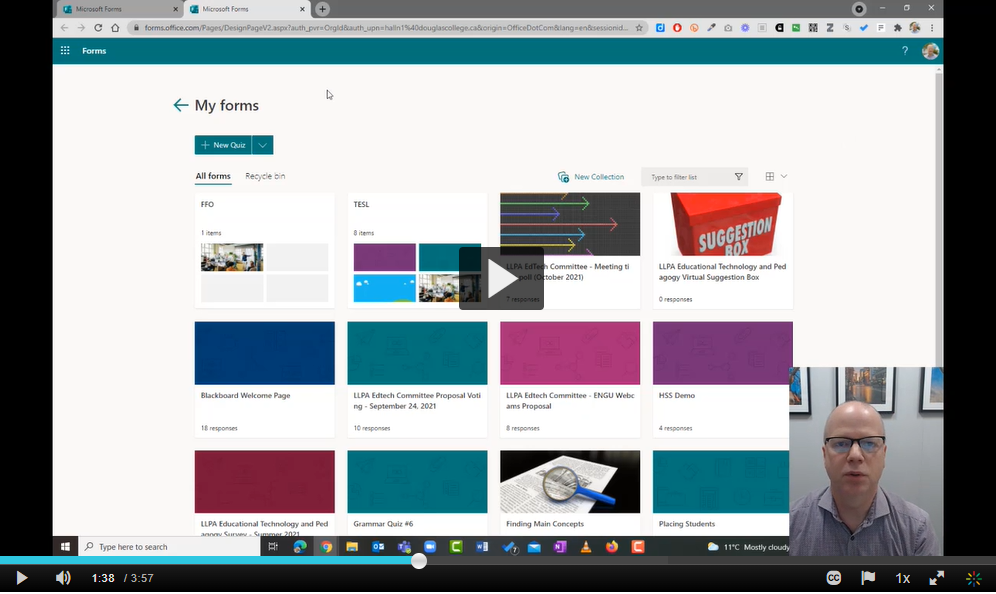
One of the main complaints I have had with Forms is the lack of ability to organize forms into folders. Thankfully, Microsoft has listened to us and has added Collections to Microsoft Forms.
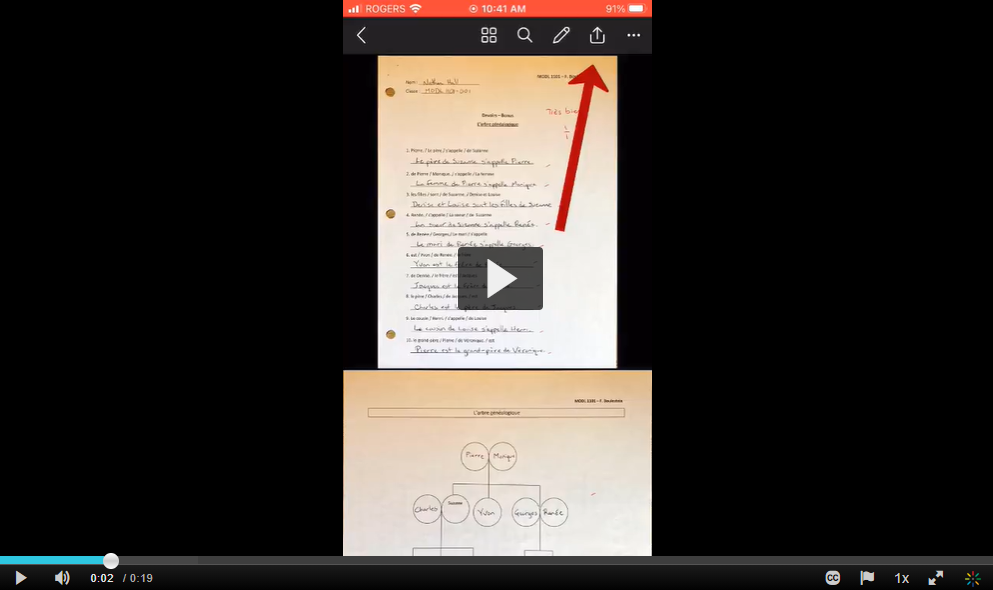
Click on the image above to learn more in this 4-minute video.
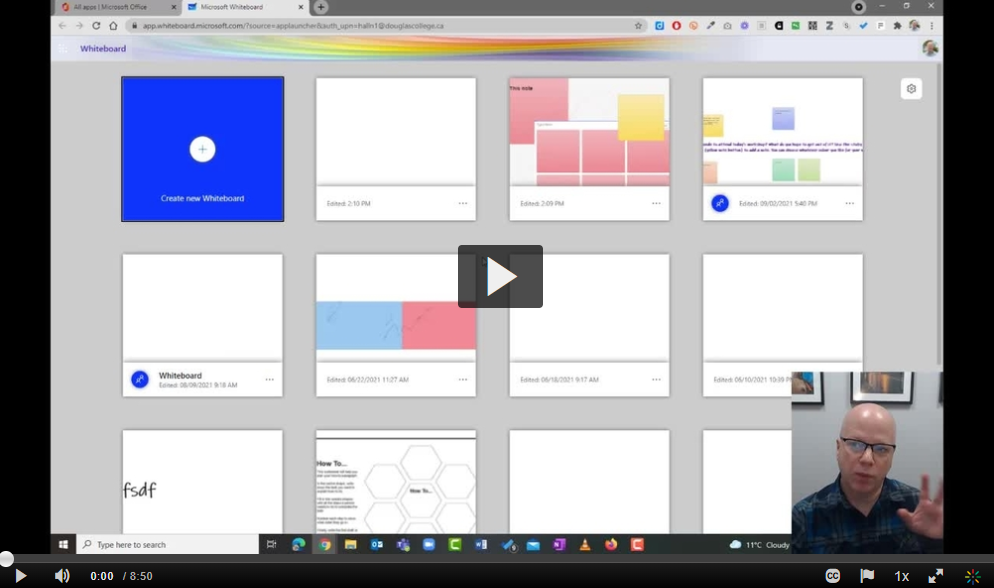
I have previously talked about using Microsoft Whiteboard with your students, but now Microsoft has added a number of features that really make it an effective collaboration and brainstorming tool. Click on the video to learn how you can use this with your students.
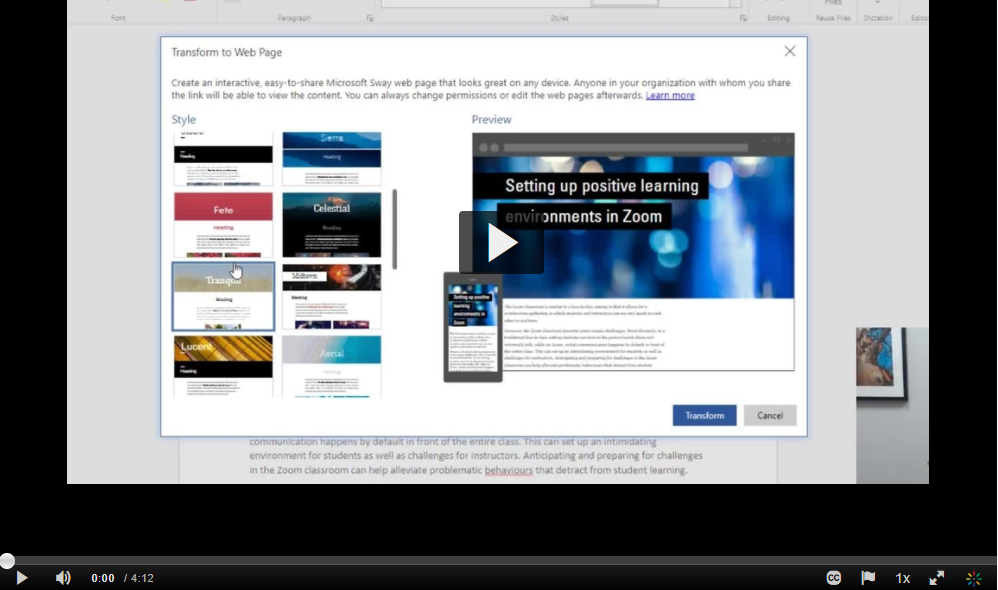
It is really simple to take a Word document and turn it into a webpage that is accessible by desktop and laptop computers as well as mobile devices. It doesn’t take any programming skills either.
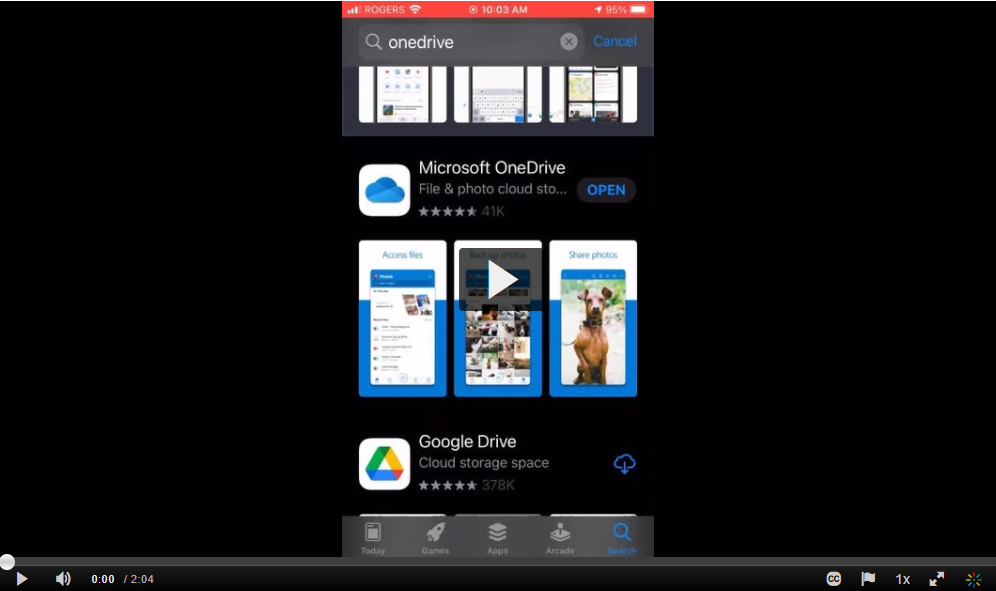
If you want your students to scan their work to share with you electronically, you can simply have them use the free Microsoft OneDrive app on their phone or tablet.
Here is a video you can share with your students on how to install the OneDrive app and then scan a document and save it to OneDrive.
Here is a video on how students can share a file with you using the OneDrive app.
Feel free to share these videos with your students.
Learn how to use the Microsoft Translator app on your phone to create live captions in OneNote that will automatically be saved as a transcript in the notebook. This is a great accessibility tool for students.
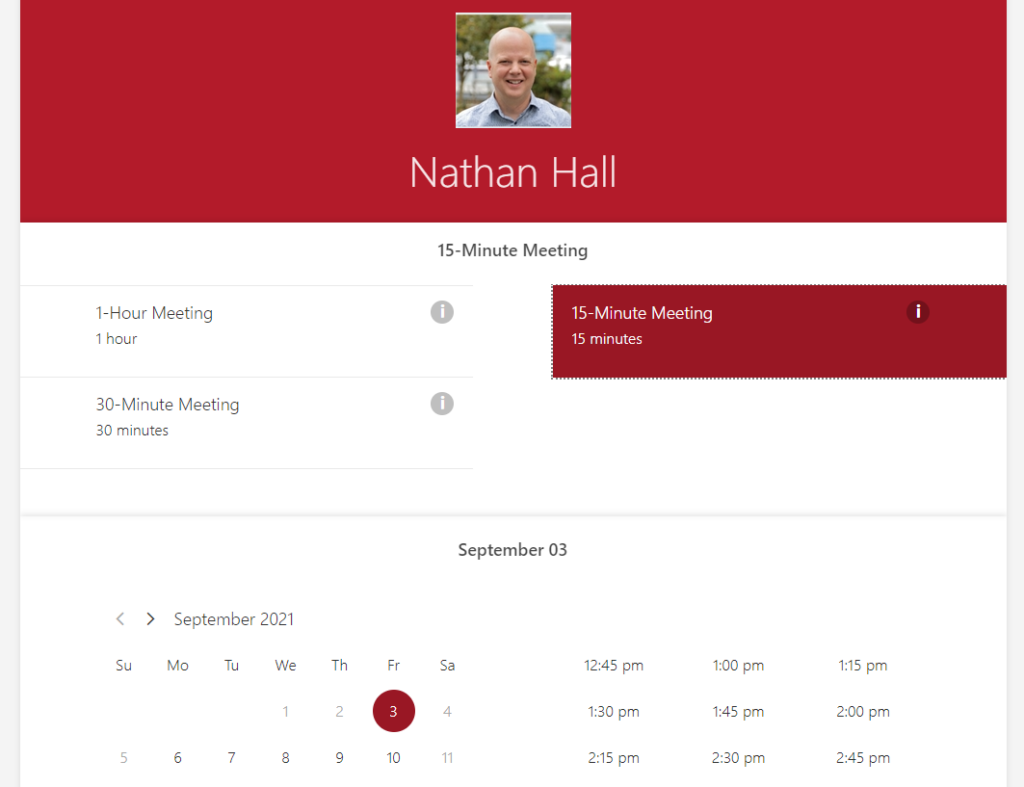
As we move back on campus, you might still want to use an online booking page for your office hours. This is a simple way for students to book a time with you in person or for meeting online. Some of you are already using a service to do this, but some of you may not be aware that Douglas College has access to Microsoft Bookings as well. This comes as part of your Office 365 package and is free for you and your students to use. It allows you to set the meeting increments (e.g. 15-minute meeting blocks) along with dates and times. I have been using this for a while now and it works well. Here is how to do that:
Log into your Office 365 account on your computer.
Click on the All Apps button in the bottom-left corner.
Finally, you will need to create the page your students will use to book the meeting. Click on Booking Page to customize your page. Here is a 1:31 video on how to do that.
If you have used the whiteboard function in Zoom or Blackboard Collaborate Ultra, you are familiar with what on online whiteboard does in general. It is a place where you can draw, type, and sometimes post things. With Microsoft Whiteboard, you can create draw in different colour pens, use a yellow highlighter, type, post different coloured sticky notes, and draw different arrows and geometric shapes. This board can be shared with others who can collaborate on it at the same time or asynchronously.
Why would I use it?
Unlike the Zoom or BBCU whiteboard, the whiteboard you create in Microsoft Whiteboard stays active even when you close the breakout room or online course room. This makes it especially useful when reviewing group work after you come back to the main room. It also keeps an archive for posting to your course site. It is great place for students to brainstorm ideas or create their ideas in a collaborate space.
Unlike other options, Microsoft Whiteboard is already part of the Office 365 account you and your students have with Douglas College. This means you do not need to get student consent and you won’t be breaking any privacy rules by using it.
There are some great apps for Windows 10 and tablets/phones, but you can also just use the online version as well.
How do I use it?
You have two options for finding it.
Log into your Douglas College Office 365 account and click on All Apps in the bottom-left corner. You will find a list of all of the apps you have access to. Click on Whiteboard to get started.
To share an open whiteboard, click on the blue button in the top-right corner and click on Share link off to switch it to Share link on. Click on Copy Link to copy the link to that whiteboard. Anyone with the link that has a DC account can now use that whiteboard.
Is there a video I can watch on how to use it?
Yes. I created this video several months back, so there have been some updates since then. Overall, it should give you a few ideas on how to use it.
How would I use it with my students?
Give each breakout room a different whiteboard to work on. They could either create their own or you could create it ahead of time and share it with them. Students brainstorm ideas and share it as mind map, columns, or any other way they want.
Create a space for students to introduce themselves at the start of the semester. Each student posts a sticky note that answers a question you give them.
Use it in the main room during a synchronous session and have students answer questions directly on the whiteboard.
Use it like you would a physical whiteboard in a face-to-face class, but now you can archive what you did for students to review after class.